How to Install Decals, Lettering and Vinyl Graphics
Installing small decals and lettering is simple! Follow the steps below to ensure the best results.
1. Prep the Surface
The most important step to a long lasting decal is a clean surface! Clean the surface with alcohol / windex. If you're unsure about whether the surface is clean enough, use a piece of painters tape to check if it adheres well.
2. Apply
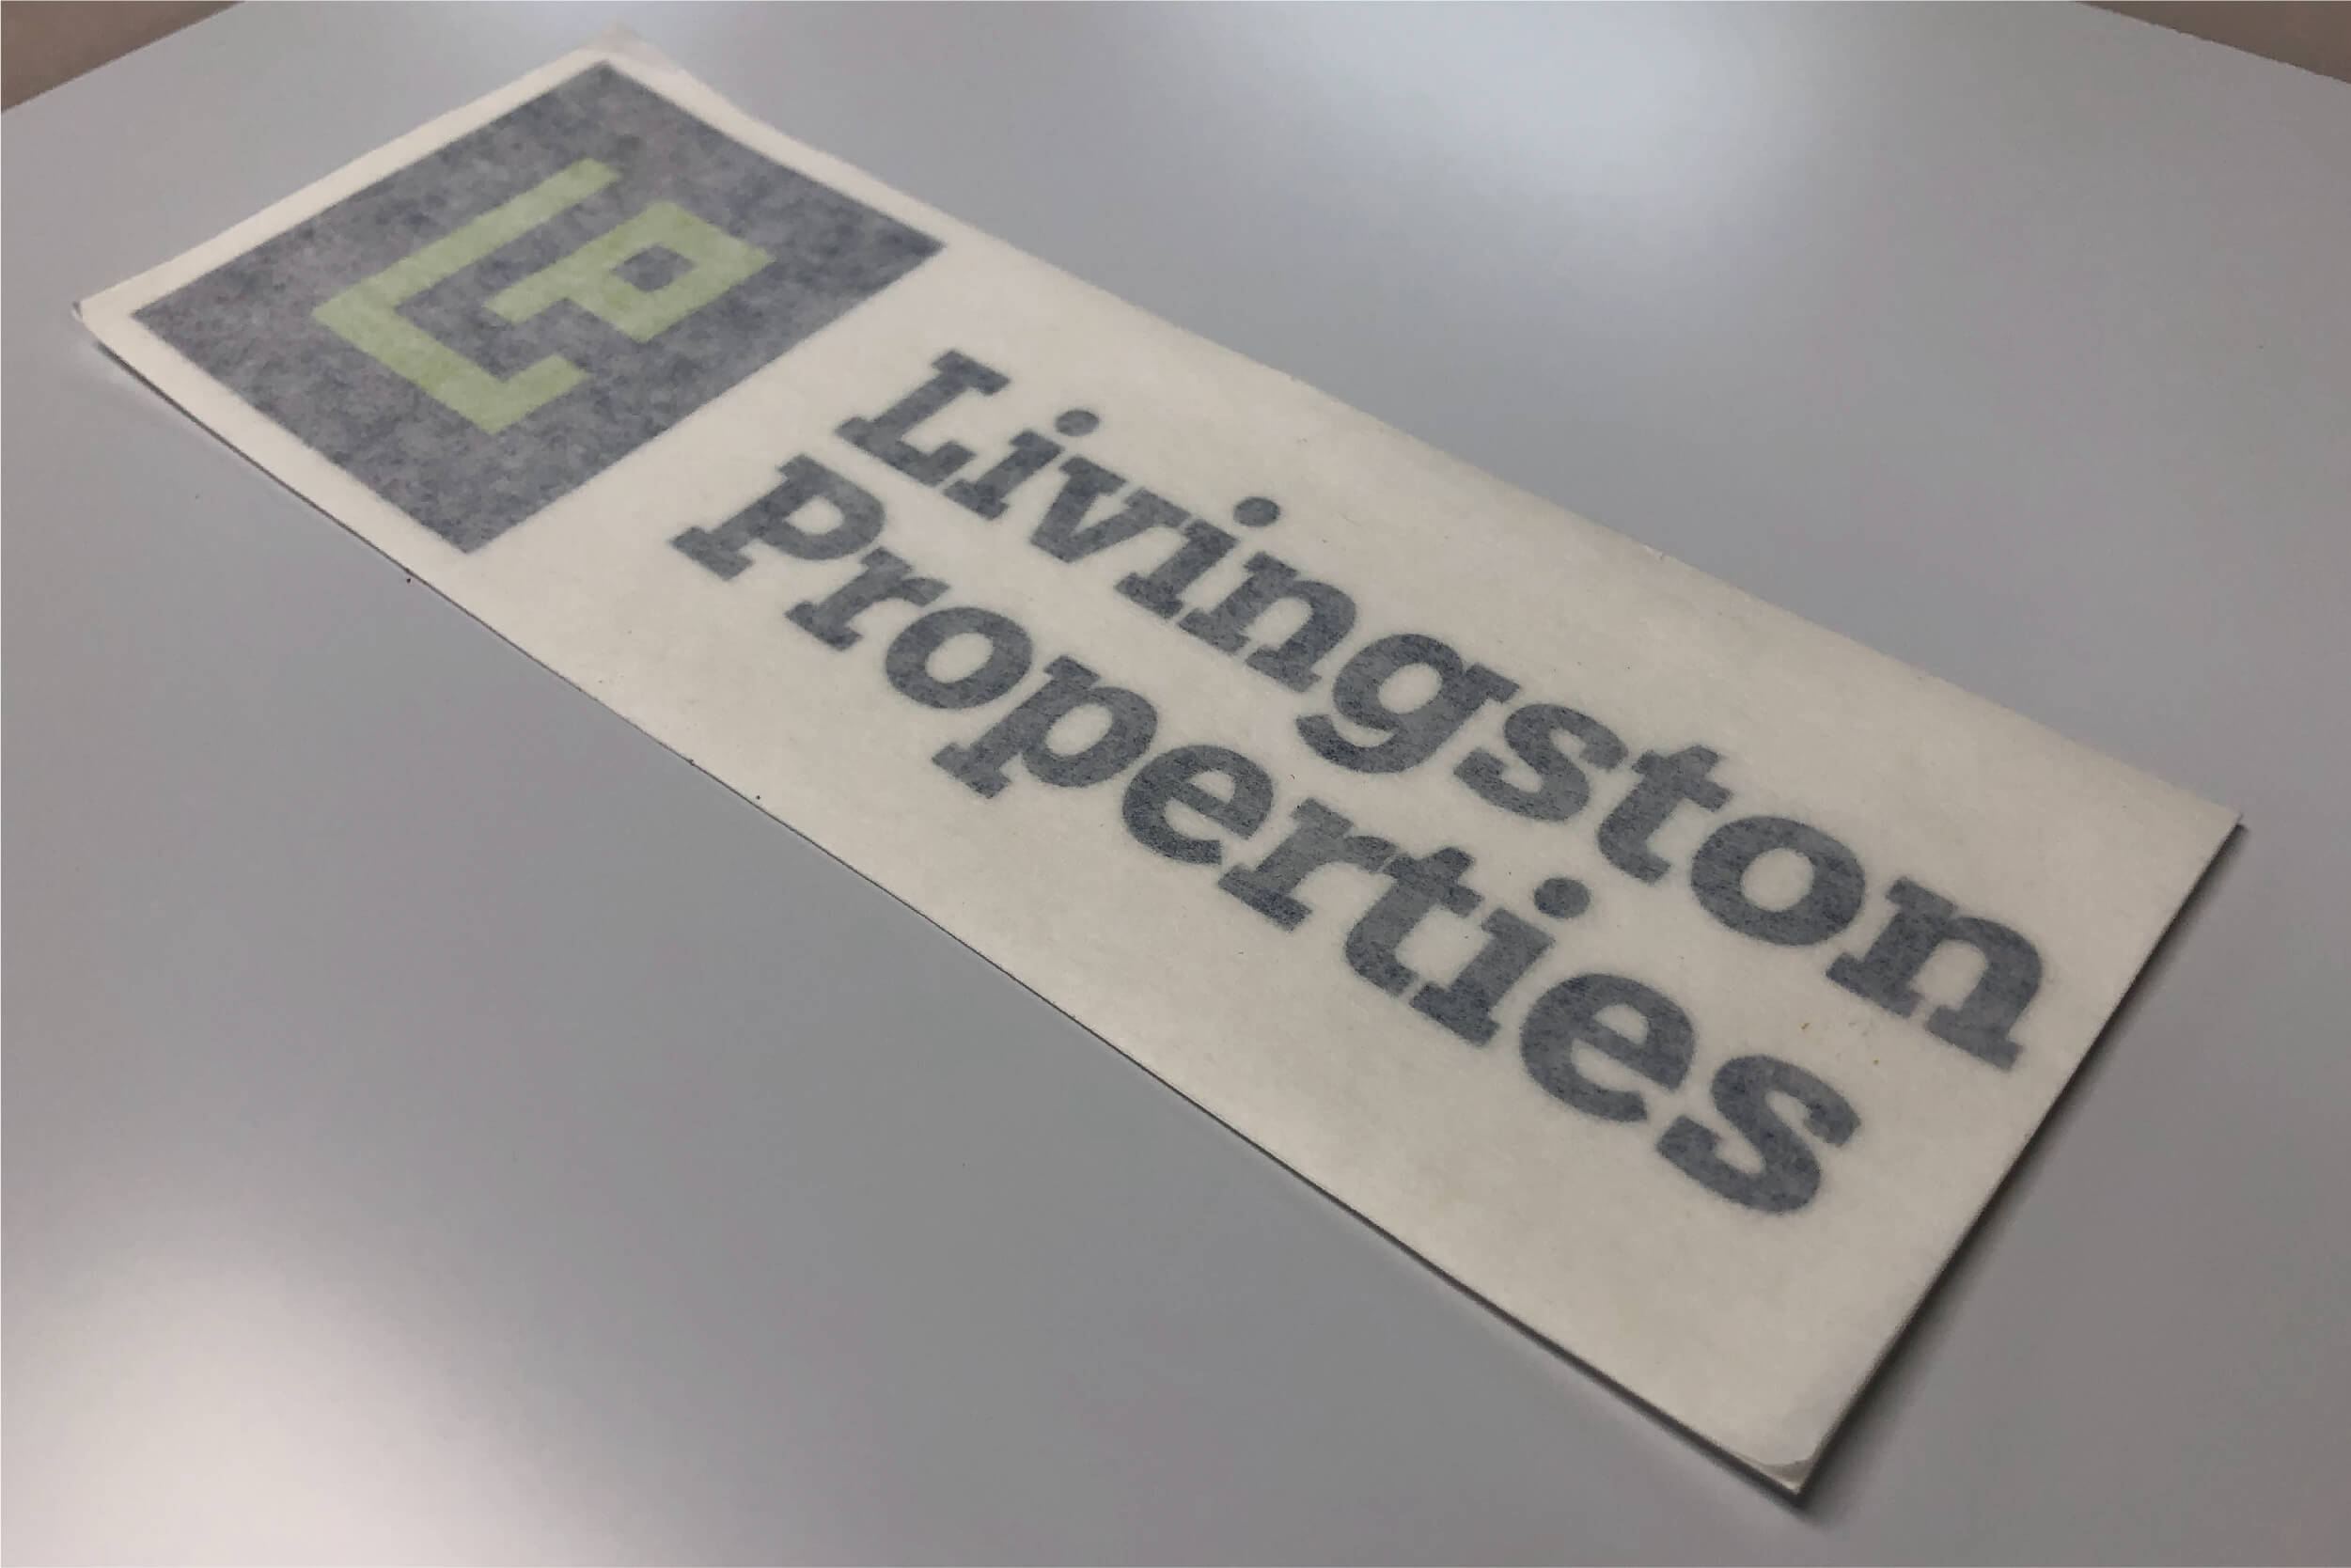
Small Decals
Peel the paper backing from the decal and gently stick the decal to the surface where desired. Then starting from the center, use your thumb and wipe from the center to the edge, then start at the center again and go the opposite direction, use overlapping strokes to ensure their aren't any bubbles.
Larger decals
Use two pieces of painters tape to stick the top corners of the decal to the surface. Position the decal where desired and apply one piece of tape along the entire top edge of the decal. Half of the tape should be on the decal, half on the surface. Press the tape down firmly. Using the tape as a hinge, flip the decal up. Starting in a corner, peel the backing paper from the decal and towards the bottom of the decal. Only peel 2-4 inches, then fold the decal back over. Don't let the adhesive touch the surface yet. Using a squeegee, start in the middle of the decal and squeegee toward one side. Then do the same to the other side. Only squeegee about 1" at a time, peel the backing paper little by little as you go until the whole decal is applied to the surface.
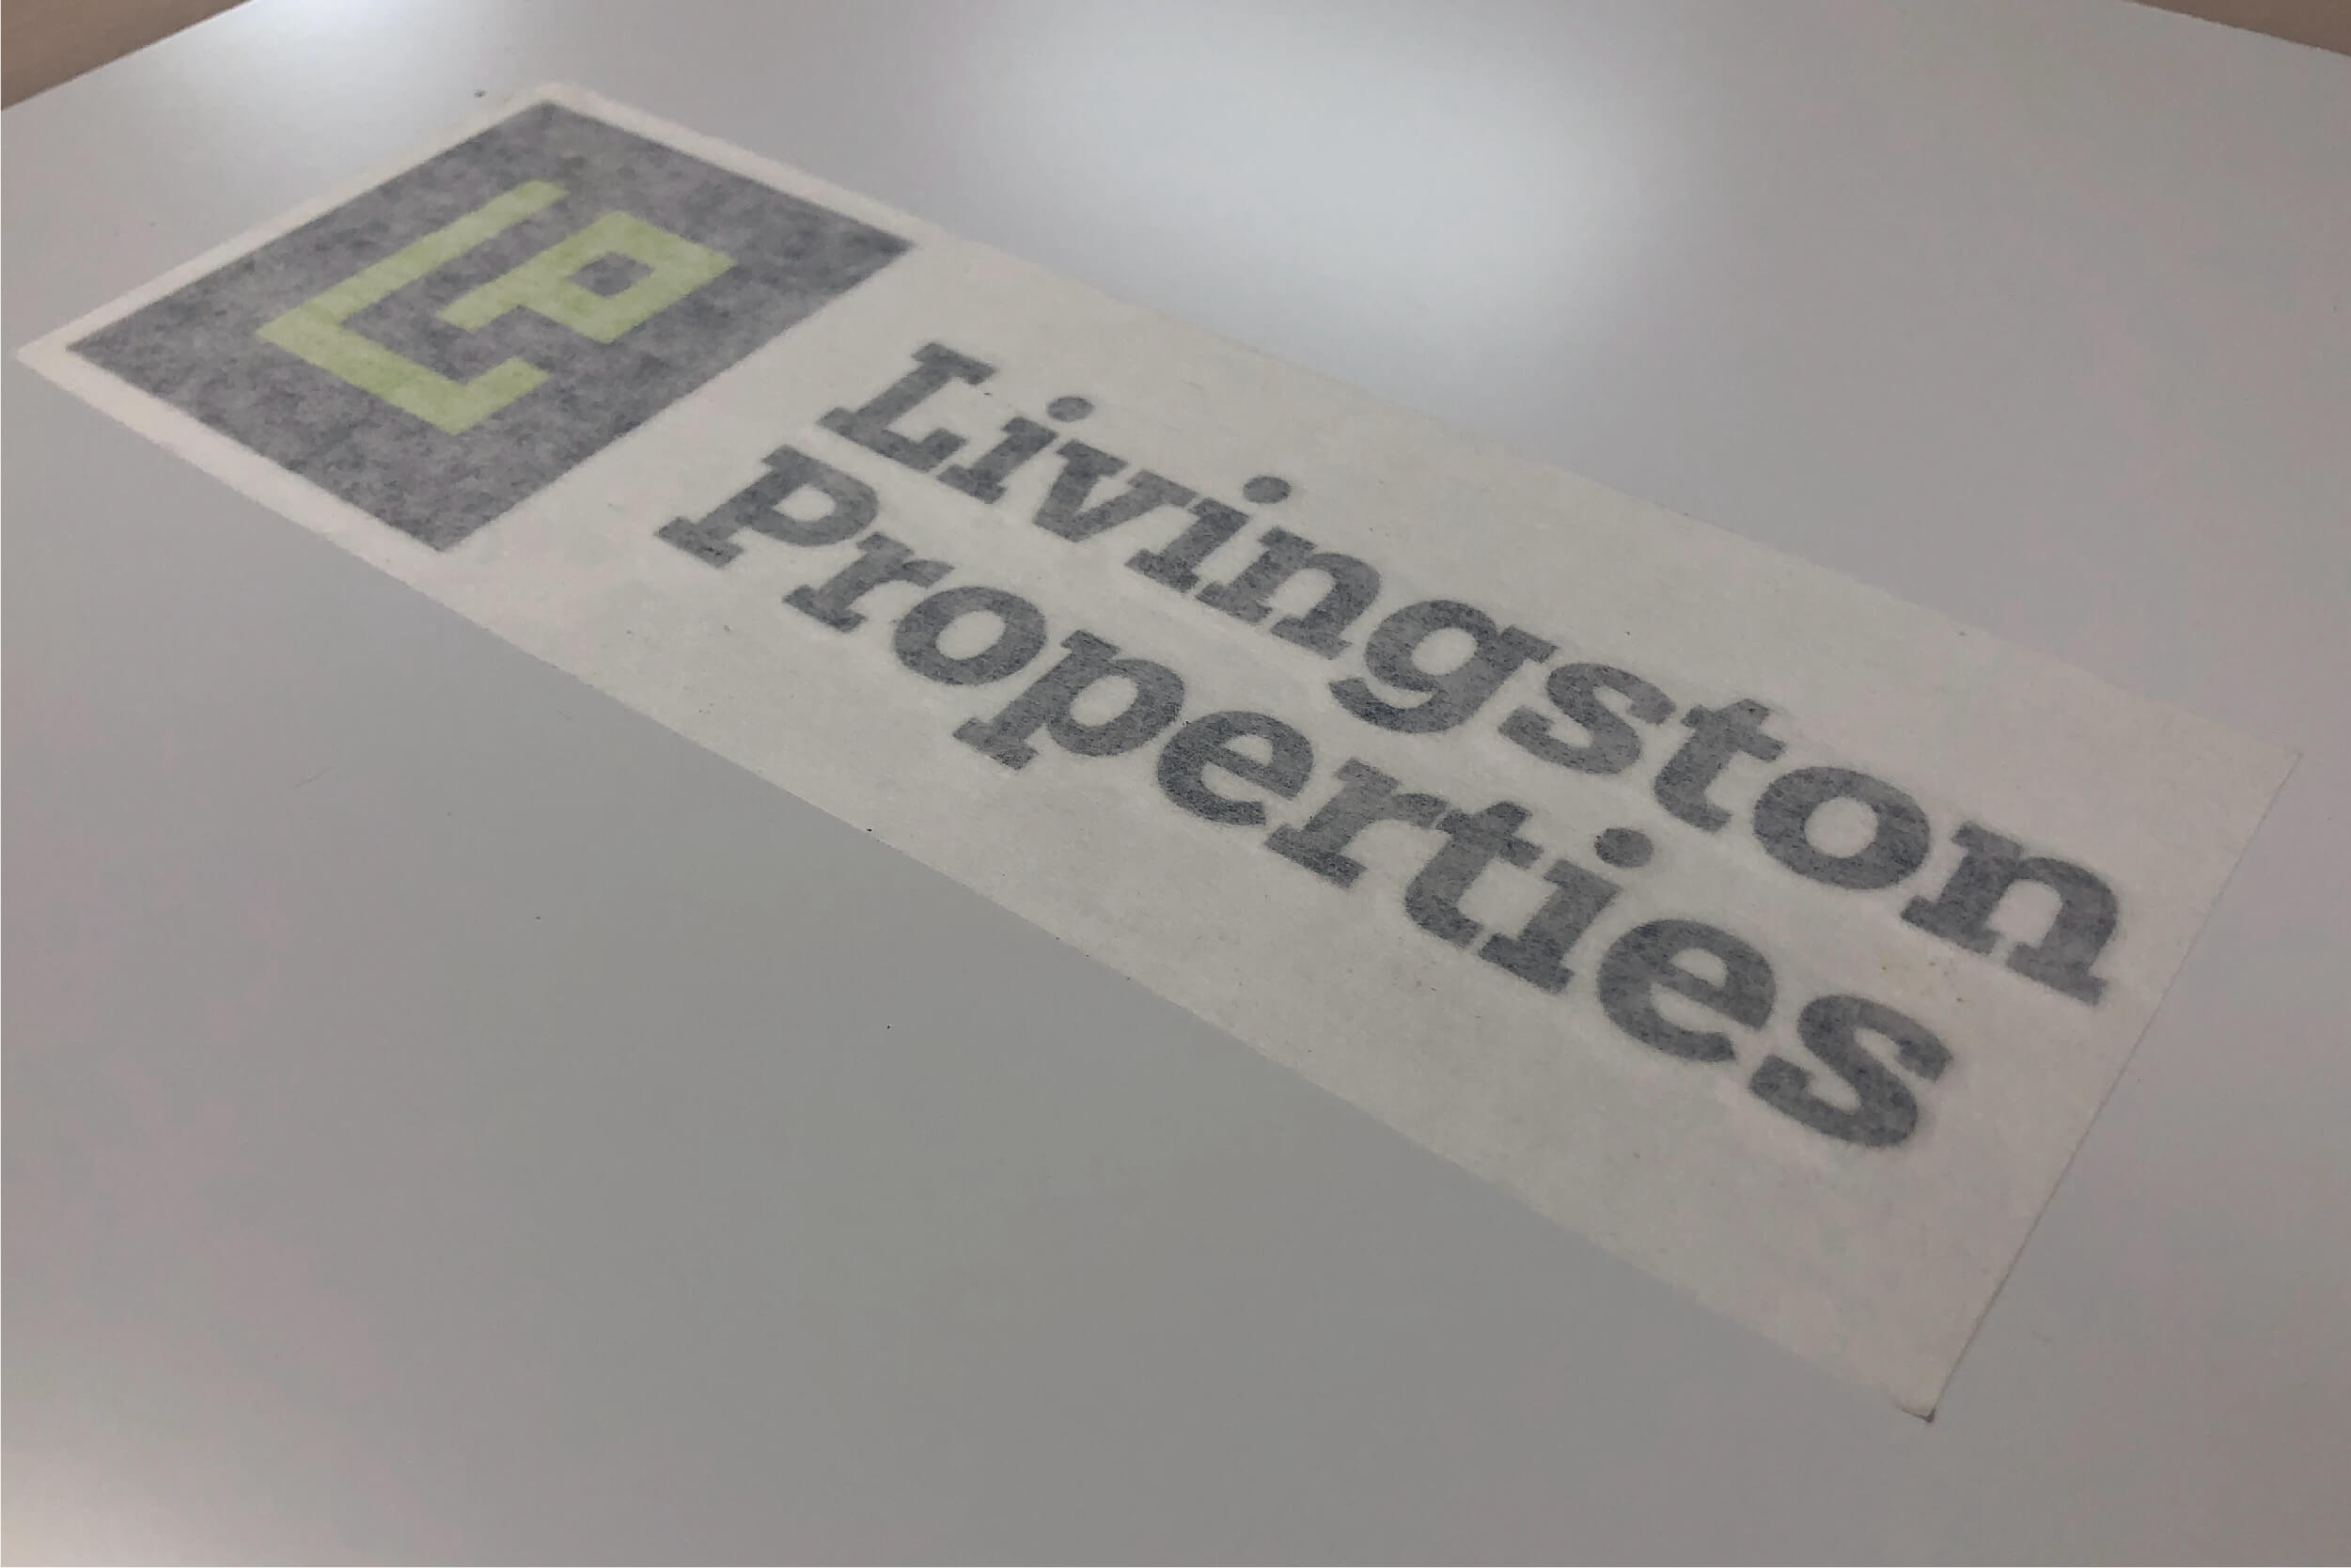
3. Remove Application Tape
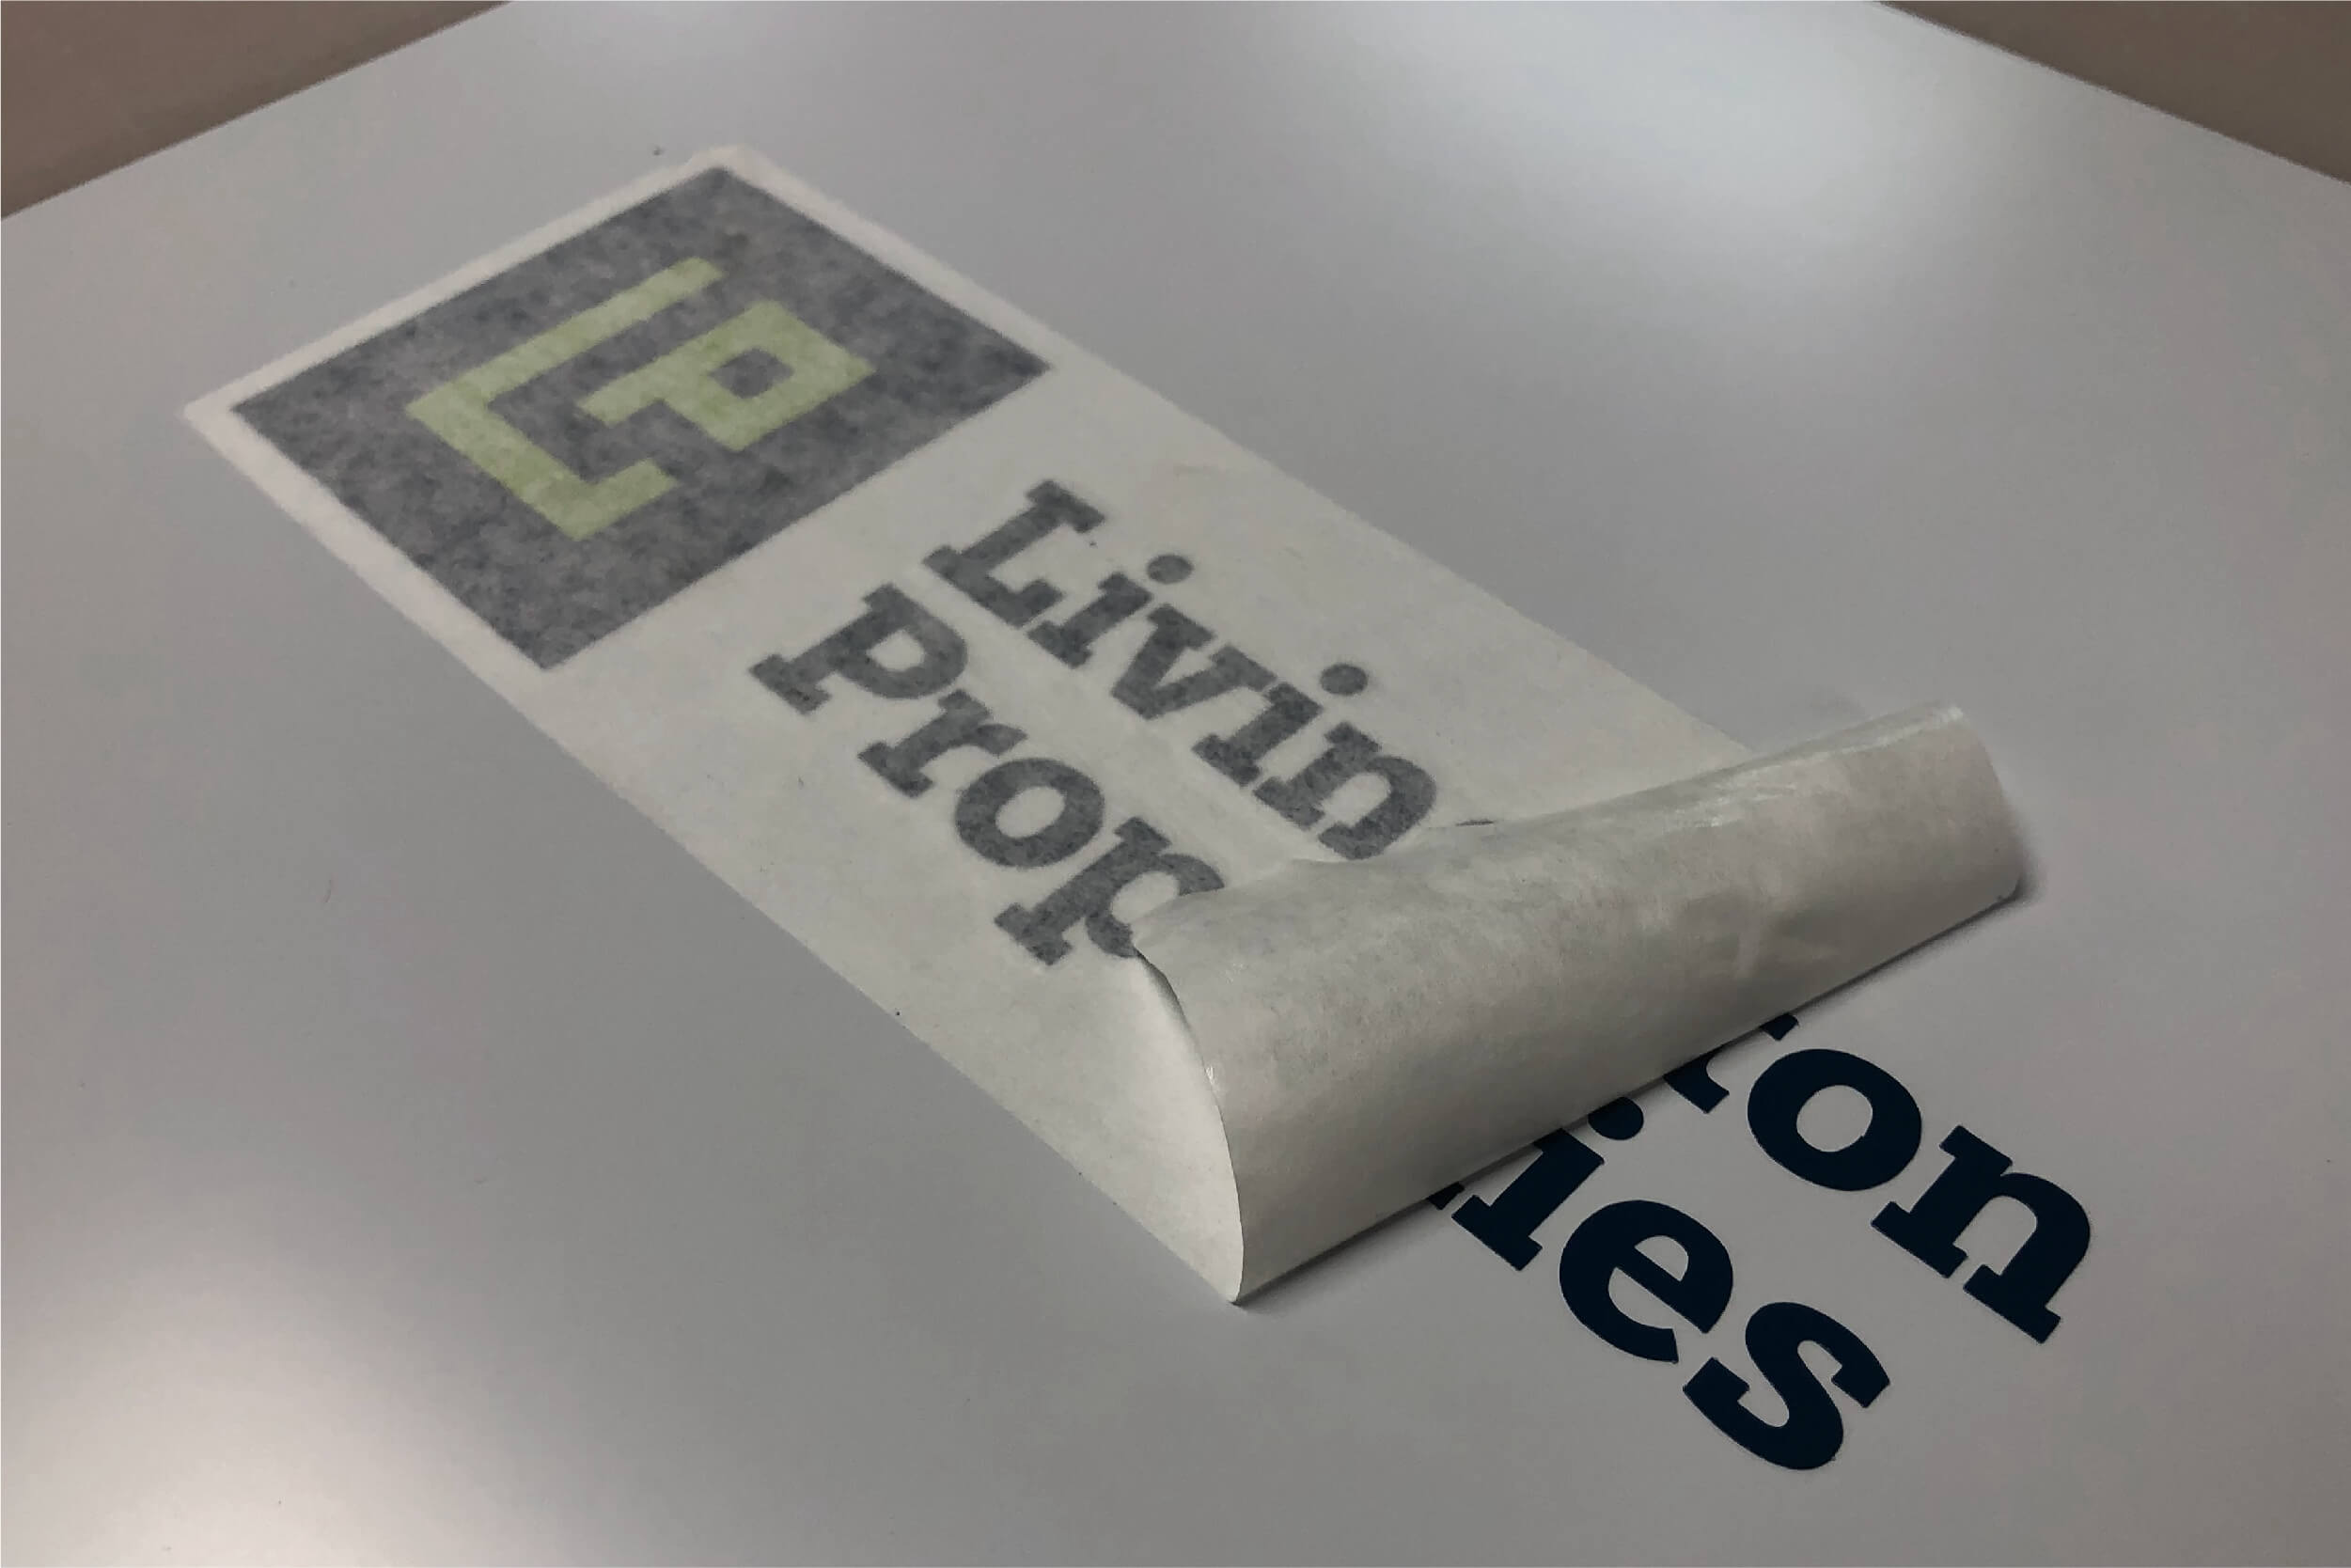
If the decal has application tape, Carefully peel it away, keeping the mask as close as possible to the surface to ensure it doesn't pull the decal from the surface.
4. Finished Product

Additional Notes
Vinyl won't stick well in temperatures below 60 degrees. Above 90 degrees, it sticks too well and stretches easily and is therefore risky to apply.